OpenCTI #1 - Install
Discover OpenCTI is this series. This first post explains OpenCTI installation and core concepts.


This is the first post of a series on OpenCTI. I will go through the Community Edition and review most of the features that are known to me. Hopefully, this will give an introductory course on CTI management using OpenCTI and maybe also a crash course in STIX.
OpenCTI 101
OpenCTI is a Threat Intelligence Platform (or TIP) developed by the French company Filigran. A TIP is used to gather, work on, and disseminate knowledge related to cyber threats.
To fullfill this role, OpenCTI obviously allows to manually create and store data in a model close to STIXv2.1. It relies on ElasticSearch to do that, allowing for management of high volumes of data.
But OpenCTI also allows to automatically add data to the knowledge either by importing new raw data, enrich data already present in the database or by API calls.
Lastly, OpenCTI also helps to disseminate information by native streams such as TAXII, by using external connectors to solutions such as Splunk or even by sharing GUI access to intelligence recipients.
If you want to just try OpenCTI before any install, you can check it out on https://demo.opencti.io/
Installation using Docker
For the purpose of this tutorial, I will show how to install OpenCTI using Docker compose. This is fine for all sorts of uses and is simple enough for a lab environment for your tests.
Installing OpenCTI is rather straightforward using Docker compose:
- Provision a machine
- Install Docker on it
- Deploy the OpenCTI stack documented on the OpenCTI Docker repository
Once you provisioned a machine (for our lab purposes, make sure to have at least 8GB of RAM. Requirements are way higher in production) and installed Docker, clone the OpenCTI Docker repository:
git clone https://github.com/OpenCTI-Platform/docker
mv docker opencti
cd opencti
The default docker-compose.yml file will provide basic services for running OpenCTI:
- redis: manages all sessions and event streams
- elasticsearch: stores knowledge
- minio: stores raw files (such as artifacts and PDF reports)
- rabbitmq: message queue for communication between connectors and OpenCTI workers
- opencti platform: the actual OpenCTI platform (UI, backend, etc.)
- opencti worker: workers for data processing
- Various basic connectors for file import and export (we'll talk a bit about them later)
The platform and the workers are stateless so they can be launched in multiple instances as long as they are connected to the same databases (redis, elasticsearch, minio/S3, and rabbitmq). This allows to scale horizontally.
The docker-compose.yml file provided by OpenCTI can be configured through environment variables. Those are automatically set if specified in a .env file located in the same folder as the docker-compose.yml file. A sample .env file is provided to kickstart your own. So let's start from that:
cp .env.sample .env
vim .env # Or whatever text editor you're familiar with
Quick explanation for environment variables:
OPENCTI_ADMIN_EMAIL,OPENCTI_ADMIN_PASSWORD, andOPENCTI_ADMIN_TOKENare the credentials that the main administrator account will use for UI and API access respectively. The token must be a valid UUIDv4OPENCTI_BASE_URLis the root URL path of the application. It will take its importance when sending e-mails for instanceMINIO_ROOT_USERandMINIO_ROOT_PASSWORDare the credentials for OpenCTI to connect on MinIO. The same is true forRABBITMQ_DEFAULT_USERandRABBITMQ_DEFAULT_PASSWORD- All the
CONNECTOR_*_IDparameters are just random UUIDv4 values. You should generate your own in production but those ID are only used to identify uniquely each connector SMTP_HOSTNAMEallows to specify a SMTP server for e-mail sending (typically for notifications). For a lab it can be removed.ELASTIC_MEMORY_SIZEallows to limit the size of the memory that ElasticSearch is allowed to take
To generate UUIDv4 values, use the uuid -v 4 command or an online generator if the token is not sensitive.
You should also get familiar with the docker-compose.yml file for things such as exposed ports (default 8080), additional environment variables, additional connectors and resource management.
Once you're happy with the first configuration, you can run docker compose up -d to run the service stack in daemon. Use docker compose logs to troubleshoot any issue. The OpenCTI application can be accessed using a browser on your server's 8080 port:
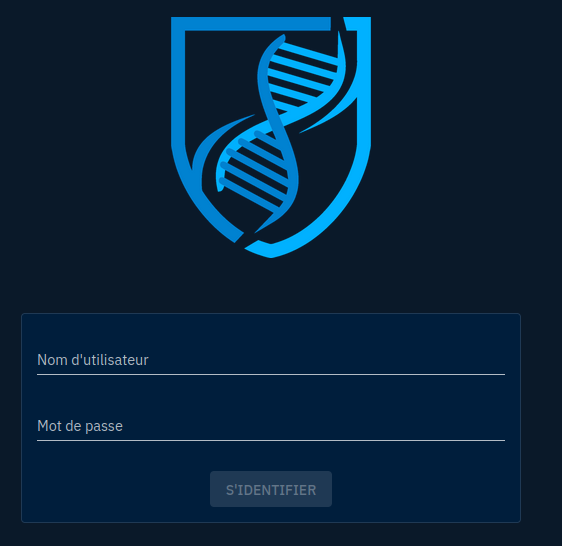
You can authenticate using the admin login and password you provided in the configuration.
Upon authenticating, you will be presented with the default dashboard unfortunately empty for now (hopefully not for long!).
Conclusion
In this post we did an overview of how to install OpenCTI. In the next one we'll dive in it for the real stuff.